Hello friends,
Hope you are doing well. Today I'm sharing with you an altered box. I decoupaged the box with decoupage tissue paper and then embellished.
Here is the box I altered
Yes, as you can see, because of the grooves in the box, decoupaging was little difficult. I cut an oval shape in the center to make it look like a tissue box.
I layered two layers of tissue. Went with blue and pink color theme to embellish.
Those flowers are from Prima and the crystal flourishes as well. The black flower is from stash. And the butterfly is Monarch butterfly die from Frantic stamper.
Hope you liked my alteration.
Thanks for visiting today and leaving your precious comments.
Linking with:
Kraft Zone:Anything Goes with Prima
Unstampabelles- Box it up
Word Art Wednesday- Anything Goes
“Come to me, all you who are weary and burdened, and I will give you rest"- Jesus. Matthew 11:28
Showing posts with label recycled crafts. Show all posts
November 13, 2014
October 31, 2014
Upcycled Mini album :)
Hi all!
A quick post from me today. An up cycled mini album made with Ciao Bella papers. Selected the pinks from it.I have used cereal box as the base from the covers to the pages.
Here are the pages:
Linking with
A quick post from me today. An up cycled mini album made with Ciao Bella papers. Selected the pinks from it.I have used cereal box as the base from the covers to the pages.
Prima products used (Buttons excluded :D)
Thanks for visiting me today.Linking with
Challenge # 40 –Sparkle with Prima
September 09, 2014
Best Friends :)
Hi all!!
I'm so excited to share today's crafty creation with you all today, as it happens to my birthday ;)
Okay, to my post now:)
I had saved this cereal box to do something, but I didn't get any idea. When I was reading Margaret's post on how she altered cereal boxes,(she has altered three cereal boxes so beautifully) I jumped into action right away! Thanks for the inspiration Margaret :).
This is what I came up with :)
First I covered the box with some scraps of pp then used a 12*12 Ciao Bella paper to cover the box. The paper itself was bright and cherry for a desktop, so didn't work on the paper much. Just added the embellishments, which includes, a chipboard gate, a lace, a fanciful flourish and some peach roses. For the sentiment part, I used the reverse side of my mini fanciful flourish die cut to create the texture.
Then used the banner stamps and the sentiment stamp.
Thank you for your kid visit today and all the lovely comments:)
I'm sharing this with:
Cheery Lynn Designs Challenge 149 - All about Texture
THROW ON THE FLOWERS CHALLENGE! @Whoopsi Daisy challenge
I'm so excited to share today's crafty creation with you all today, as it happens to my birthday ;)
Okay, to my post now:)
I had saved this cereal box to do something, but I didn't get any idea. When I was reading Margaret's post on how she altered cereal boxes,(she has altered three cereal boxes so beautifully) I jumped into action right away! Thanks for the inspiration Margaret :).
This is what I came up with :)
First I covered the box with some scraps of pp then used a 12*12 Ciao Bella paper to cover the box. The paper itself was bright and cherry for a desktop, so didn't work on the paper much. Just added the embellishments, which includes, a chipboard gate, a lace, a fanciful flourish and some peach roses. For the sentiment part, I used the reverse side of my mini fanciful flourish die cut to create the texture.
Then used the banner stamps and the sentiment stamp.
Thank you for your kid visit today and all the lovely comments:)
I'm sharing this with:
Cheery Lynn Designs Challenge 149 - All about Texture
Challenge 35...@Crafting From The Heart
June 23, 2014
Altered art
Hello everyone!
Today I'm sharing an altered container. I painted it with gesso first and then used red acrylic paint. After it dried I decorated with embellishments. Since I'm planning to use it as a pot for my plants, I minimized the embellishments. The lady bugs are especially for outdoors.
The yellow rose is handmade with Pooja's instructions on how she made handmade flowers. I liked the petals of her flowers so much, and gave it a try. The letters are self adhesive stickers.
Thanks for your sweet visit today and the lovely comments.
Linking this with
Challenge #36 Mixed Media@Unstampabelles
January 27, 2014
Use your scraps
Hello everyone!
Today I'm sharing with you a card and a tag made from scraps of pp. This is inspired by the challenge at lulupu-craft challenge blog.
I hope many of you have "scarps savings" like I do :). The only issue is storing them!!. After some time you really don't know why you "saved" so much, specially when you have an active toddler at home :).
At this moment, when you see a challenge like this, you should really be happy to at least reuse them in a proper way .
So, this is what I came up with.
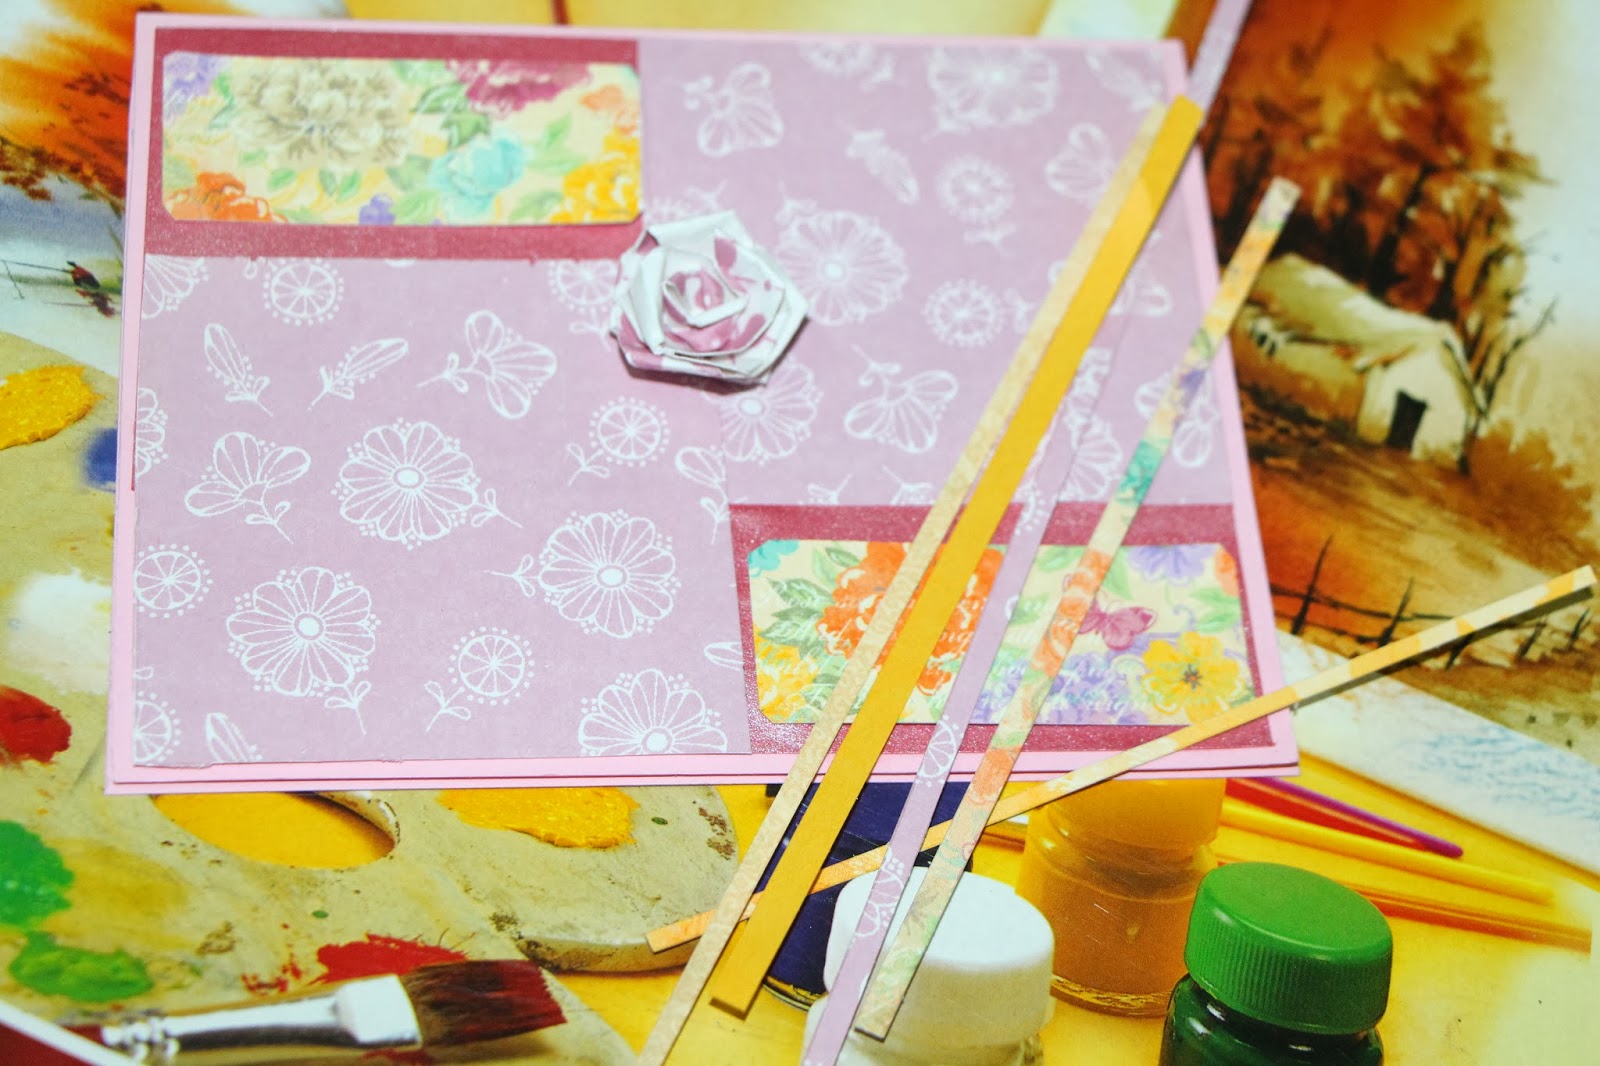
A "scrappy happy birthday card" Every thing from left over pattern papers, card stocks and embellishments, even the quilling papers are actually left overs.
I also made a tag and here is the picture :
Okay, now as per lulupu's blog challenge guidelines, I have to explain, how I used my scraps. So, here I go with the first picture of my left over craft materials and the current storage system.
I store them in hand made boxes for now. And the next picture shows how I started with this card.
As you can see, I started with this layout for my card and did the rest. The rose at the center is also from a scrap pp. I rolled the pp to make it and the butterflies you see on the actual card are slightly damaged. But I had them without throwing away. I did a few make over on them and used it for this card.
Now, for the tag, as you can see, I have used small pp strips and embellished with a quilling flower and some hearts.
So that's it. I think enough of explanantion from my side!!. A huge thanks, if you had really read till this :) :).
Thanks for visiting me today and for your sweet comments. Have a great day!!
Entering this for the
Challenge #24 Scrap your Scraps ! @Lulupu-the craft lounge
April 02, 2013
Look who's crafting!
My little fellow is growing!
My son helped me in making this recycled yogurt cup craft!
We used:
And
The sticker was the choice of my son:) I painted, he stuck:)
We're planning to do more!:)
My son helped me in making this recycled yogurt cup craft!
We used:
And
The sticker was the choice of my son:) I painted, he stuck:)
We're planning to do more!:)
Subscribe to:
Posts (Atom)