Hello everyone!
Today I'm sharing with you a card and a tag made from scraps of pp. This is inspired by the challenge at lulupu-craft challenge blog.
I hope many of you have "scarps savings" like I do :). The only issue is storing them!!. After some time you really don't know why you "saved" so much, specially when you have an active toddler at home :).
At this moment, when you see a challenge like this, you should really be happy to at least reuse them in a proper way .
So, this is what I came up with.
A "scrappy happy birthday card" Every thing from left over pattern papers, card stocks and embellishments, even the quilling papers are actually left overs.
I also made a tag and here is the picture :
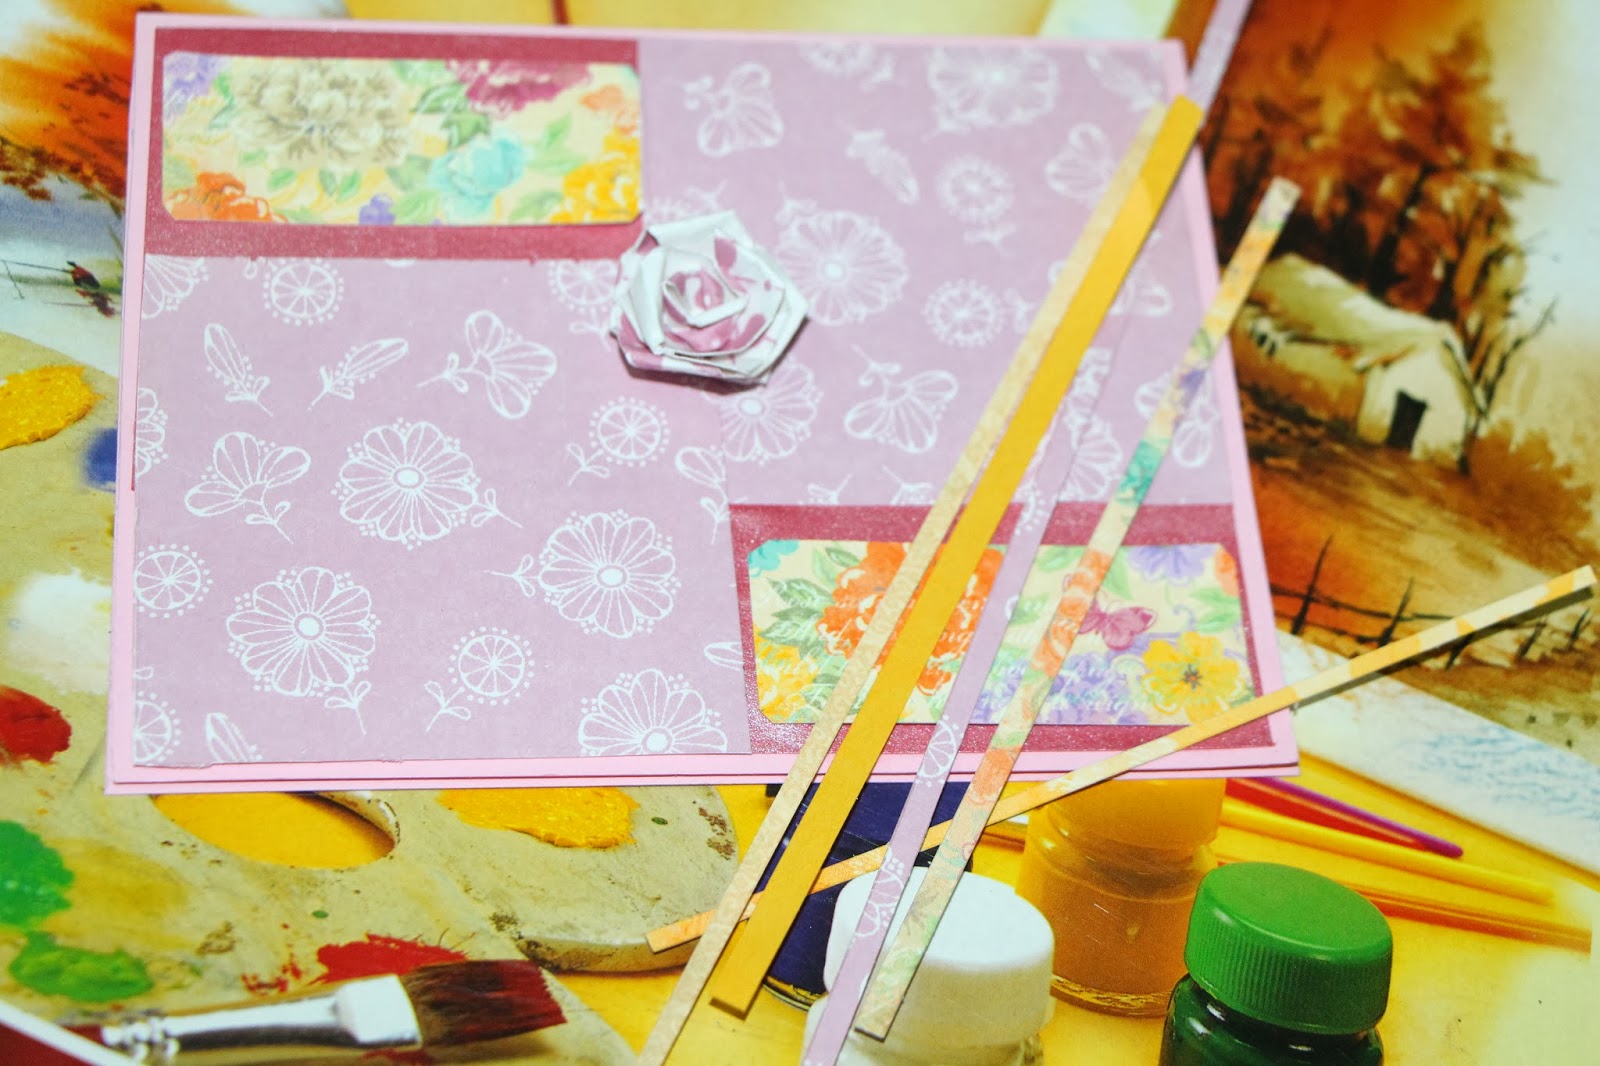
Okay, now as per lulupu's blog challenge guidelines, I have to explain, how I used my scraps. So, here I go with the first picture of my left over craft materials and the current storage system.
I store them in hand made boxes for now. And the next picture shows how I started with this card.
As you can see, I started with this layout for my card and did the rest. The rose at the center is also from a scrap pp. I rolled the pp to make it and the butterflies you see on the actual card are slightly damaged. But I had them without throwing away. I did a few make over on them and used it for this card.
Now, for the tag, as you can see, I have used small pp strips and embellished with a quilling flower and some hearts.
So that's it. I think enough of explanantion from my side!!. A huge thanks, if you had really read till this :) :).
Thanks for visiting me today and for your sweet comments. Have a great day!!
Entering this for the
Challenge #24 Scrap your Scraps ! @Lulupu-the craft lounge
“Come to me, all you who are weary and burdened, and I will give you rest"- Jesus. Matthew 11:28
Showing posts with label Paper roses. Show all posts
January 27, 2014
November 06, 2013
Paper rose making
Hi all!
Guess what is today's post about? I think you guessed it right!.
I'm so excited to share some "Paper roses" I've made for the first time :) and the method I used ! Yes I have a small tute on the same :) May be you can take this as my version of making paper roses :). Because, I watched some fabulous tutorials on you tube on making paper flowers and roses and ended up with this method with changes here and there.
And you know what? I had some A4 plain white sheets left, after making my Sunday school certificates and didn't want to throw them just like that. So ended up making varied colored roses :).
Okay, now to my first set of roses. ( Two red and one orange)
The below picture collage explains the method
1. Draw circles
2. Cut the circles
3. Fold the circle in half vertically
4. Another fold
5& 6. Third fold and mark the petal shape. ( You can draw any shape according to the flower)
7.Cut the shape
8.Open the circle
9. Paint with your favorite color ( I used acrylic yellow and red, mixed ) on both the sides of the circle.
10. Cut a single petal out of one circle, and two petals out of another.
11, 12 & 13.Glue on one side to form the base
14. These will serve as the bottom two layers
15, 16, 17 & 18. With the cut petals, form the bud. ( roll one single petal and glue the sides.).
19. With more petals form the centre bud. (Make sure they are glued and dried for some time).
20, Now you have this centre bud.
21. Cut the base of the bud. (before cutting, make sure it is dried enough).
22.Now place this bud in the centre of the base we've already made.Roll the petals down ward with your fingers to get some natural look.
Hope it was useful. I know you crafty friends are all already well versed in the art of flower making! But I thought of sharing the method I used :) May be it will help some one who lands newly in my blog :).
Thank you for stopping by today!
Have a nice day.
Guess what is today's post about? I think you guessed it right!.
I'm so excited to share some "Paper roses" I've made for the first time :) and the method I used ! Yes I have a small tute on the same :) May be you can take this as my version of making paper roses :). Because, I watched some fabulous tutorials on you tube on making paper flowers and roses and ended up with this method with changes here and there.
And you know what? I had some A4 plain white sheets left, after making my Sunday school certificates and didn't want to throw them just like that. So ended up making varied colored roses :).
Okay, now to my first set of roses. ( Two red and one orange)
The below picture collage explains the method
2. Cut the circles
3. Fold the circle in half vertically
4. Another fold
5& 6. Third fold and mark the petal shape. ( You can draw any shape according to the flower)
7.Cut the shape
8.Open the circle
9. Paint with your favorite color ( I used acrylic yellow and red, mixed ) on both the sides of the circle.
10. Cut a single petal out of one circle, and two petals out of another.
11, 12 & 13.Glue on one side to form the base
14. These will serve as the bottom two layers
15, 16, 17 & 18. With the cut petals, form the bud. ( roll one single petal and glue the sides.).
19. With more petals form the centre bud. (Make sure they are glued and dried for some time).
20, Now you have this centre bud.
21. Cut the base of the bud. (before cutting, make sure it is dried enough).
22.Now place this bud in the centre of the base we've already made.Roll the petals down ward with your fingers to get some natural look.
Hope it was useful. I know you crafty friends are all already well versed in the art of flower making! But I thought of sharing the method I used :) May be it will help some one who lands newly in my blog :).
Thank you for stopping by today!
Have a nice day.
Subscribe to:
Posts (Atom)